008615129504491

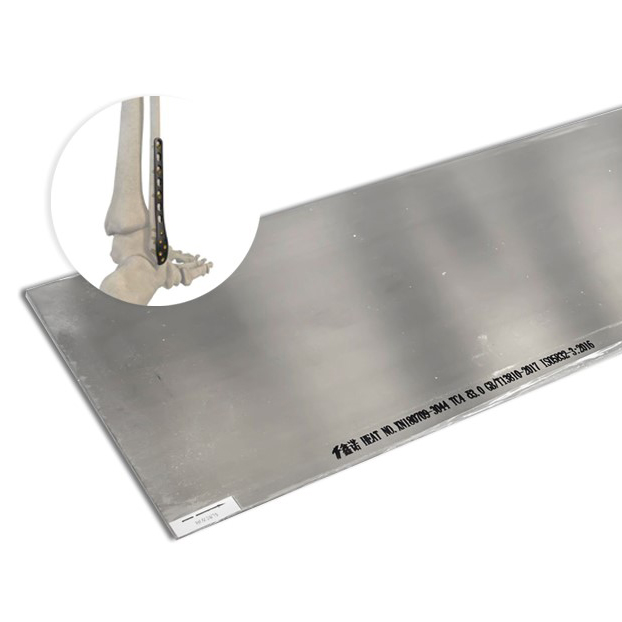
| Material | Gr 5, Gr 5 ELI, Ti-6Al-4V ELI |
| Standard | ASTM F136, IS05832-3 |
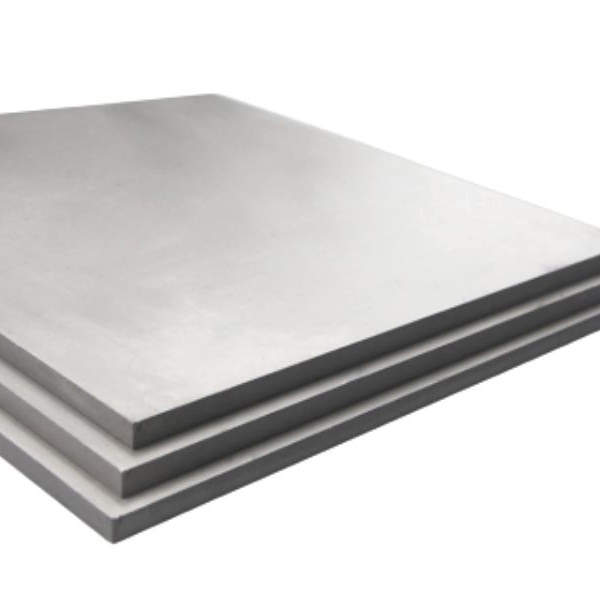
| Size | (1.0~12.0) T * (300~1000) W * (1000~2000 )L mm |
| Tolerance | 0.05-0.2mm |
| State | M, Annealed |
| Surface Condition | Polished, Customized surface |
| Roughness | Ra<3.2 um |
100% Surface defect detection .
This part of the inspection surface is the first process in the inspection department. The bar is constantly rotated to check if there are any defects such as cracks and dents that can be found on the surface. If there are defects, they are marked and then recorded in the defective inventory.
100% Infrared diameter instrument Accurate diameter measurement and strict tolerance control.
The detailed inspection steps as follows:
1. Before starting the inspection, the inspection technician follows up on the required range of tolerances and sets warning values.
2. To start the inspection, every bar is rotated evenly through the inspection area and the detected diameter data is displayed on the instrument.
3. When there is an over or under diameter, the inspection instrument alerts and the bar is disposed of as scrap or polished twice to reduce the diameter.
100% Straightness inspection.
Straightness tolerance is the degree of deviation of each point on the line from the line, offered straightness 0.3‰-0.5‰. The detailed processing is put a rod on the surface of a well-lit platform, the rod rolls back and forth, the inspector looks in front and uses a 0.2mm ruler to detect the gap between the rod and the platform.
100% Eddy Current Flaw Detection.
The coil in which the inspected product is placed inside the coil for inspection is suitable for the detection of bars and wires with a diameter of 3-14 mm. Since the magnetic field generated by the coil acts first on the outer wall of the specimen, the effect of detecting outer wall defects is better, and the detection of inner wall defects is carried out by the use of penetration, and there is no damage to the surface and performance of the product.
100% Ultrasonic Inspection.
Mainly detect the metallurgical defects inside the product according to AMS 2631. The product is placed in a sink, and the instrument is used to test the product back and forth on the surface while it is rotating, and the instrument is observed to display the device, and if the peak value suddenly becomes higher, then the product is not homogeneous internally
Physical properties testing including Tensile Strength, Yield Strength, Elongation A in 4D or 4W min, Reduction of Area B min. Microstructure. A1-A5,Internal structures were observed under high and low magnification microscopes for microstructure grading. Quality certificates and third-party test reports will be provided upon request
Our company specializes in producing titanium products. The material has low density but high good properties, it is widely used for medical industry. And considerably applied in medical fields:joint , tooth treating, medical implantation materials, surgical instrument, etc. Feel free to contact us with any questions!

